28 January 2020

Hugs and kisses

Hello everyone.

Sharing another post, here is a sample card for Lisa Horton Crafts using new stencil. 


For 6x6 card

Lisa Horton Crafts Tartan stencil and limited edition flower stencil,
Butterfly flourish dies,
Ticker phrases sentiment stamps and pearls.
Distress oxide Worn lipstick and Hickory smoke inks,
Vellum used for butterflies.


Come and join Lisa Horton on Create and Craft TV on Monday 3rd February for new products and stencils.


Thank you for looking and leaving your comments.
Have a wonderful day.
Hugs Natalia.

Butterfly flourish and Mermaid tails glitter.


Hello everyone.

Sharing a card made with butterfly flourish and mermaid tails glitter.


For 7x7 card

Lisa Horton Butterfly flourish dies and stamps, 
Lisa Horton Be happy sentiment stamps,
Mermaid tails lilac sea glitter and pearls,
Stitched square dies,
Purple ink,
Versafine black ink,
Papermilldirect card.


Cut four butterfly flourish edge dies and cut a frame with square dies that will fit the butterfly edge inside.


I cut the square from purple card and added to double sided sticky sheet, then I cut a smaller square at the center of this square, as you can see above (If you lay the butterfly edges around square frame you will make almost a diamond shape square at the center). I covered the edges of card little bit with the release paper from sticky sheet, that glitter won't go there (see below the photo) Apply the mermaid tails lilac sea glitter to the card.


Use the backing sheet to glue the glitter to the card.


Glue four butterfly edges to the frame which made from square dies.
 I added foam tape to the glitter card at the edge and added the butterfly frame on top.

 From little square with sticky sheet I cut large butterfly and added glitter.


Choose a sentiment which will fit in center of butterfly frame, stamp to the center of base card, I also stamped a tiny butterfly next to sentiment in purple colour ink. 
Glue the finished frame to the base card and add the butterfly to the card. Add some pearls.


Thank you for stopping by and leaving your comments.
Have a wonderful day!
Hugs Natalia.


27 January 2020

Thanks a bunch shaker card


Hello everyone.

Sharing a shaker card made with the waste from previous card using Daisy Burst dies and stamps.


For 6x6 card

Lisa Horton Crafts Daisy burst dies and stamps, 
Mermaid tails turquoise rose glitter, pearls,
Ticker phrases sentiments stamps.
The island collection Capri papers coming soon.
Wendy Vecchi dye ink,
Creative expressions stitched squares dies.


I used the left over die cut flowers card from previous card for this shaker. I cut a frame using two square dies that the width is measuring 1 cm around. Glue the square frame to the front of card with flowers.


Cut Capri paper slightly smaller then the card base. Before adding acetate to the card lay the frame into card and mark with pencil where you can glue some pearls for flowers, glue the pearls. I used different colour pearls and sizes. Then apply acetate to the flower square card at the back and foam tape around.


I added beautiful mermaid glitter and some beads to match the colour of papers. Then glued the square card to the paper to match my flowers with pearls at the center of flowers. I applied glue to the back and added to the card base. Stamped a sentiment with dye ink, cut around leaving a little white border and added to the front of card.


Facebook group Crafting with Lisa Horton

Thank you for stopping by and leaving your comments.
Crafty Hugs Natalia


26 January 2020

Nativity card


Hello everyone.

Sharing a Nativity card which I forgot to share.


For the card

Hunkydory For the love of stamps The nativity stamp set and masking sheets,
Crealies stitched frame dies,
Tonic circle die used  for masking.
Distress inks used for background and to colour the images with water brush.
Imagination crafts white gold wax water based.
Papermilldirect white smooth card,
Gold mirror card


Thank you for stopping by and leaving your comments.
Crafty hugs Natalia.


25 January 2020

Daisy burst card


Hello everyone.

Sharing a card with Daisy burst set which I made for Lisa Horton launch. 


For 6x6 card

Lisa Horton Daisy Burst dies and stamps,
Lisa Horton Nested banners die coming soon,
Lisa Horton Bee Happy sentiment DL stamp,
White smooth card,
Wendy Vecchi make art Garden Patina dye ink,
Lisa's pearls.
White mesh ribbon and blue paper string. 

Stamp Daisy burst stamp with coloured dye ink onto square card with flourish edge to the edge of the card on both sides. Then use the die to cut the Daisy flourish on both sides of the card, trim the sides.
Add the die cut flourish to the square card base with foam pads for dimensions. Stamp and die cut daisies, shape them and add them on top of the flowers with some pearls.
Stamp a sentiment with Versafine black ink and die cut a banner with little hole. Add a matching colour ribbon or twine to the banner, I used white mesh ribbon and some paper string. Apply the banner to the center of card diagonally between flowers with foam pads. 


Hope you like the card and inspired to make this. You can also come and see all other projects of Lisa Design Team on the blog and Facebook.


Thank you for looking and leaving your comments.
Have a wonderful and crafty day!
Hugs Natalia.


20 January 2020

Spinning butterfly


Hello everyone.

Today is Lisa Horton launch of new products on TV at 1 pm and 6 pm. Sharing spinning butterfly card using new  Butterfly Flourish dies and Ticker sentiment stamps.


For 6x6 card

Lisa Horton Butterfly flourish dies, Ticker sentiment stamps and pearls,
Lisa Horton stitched square and circle frame dies,
Distress inks,
Imagination crafts white gold wax.

 I made a background using distress inks with water on brush and splattered the ink to the card, I used worn lipstick, squeezed lemonade, wilted violet, shaded lilac, spiced marmalade, broken china, twisted citron and picked raspberry inks. Also added for sparkle white gold wax with water.
You can see below the finished background card.


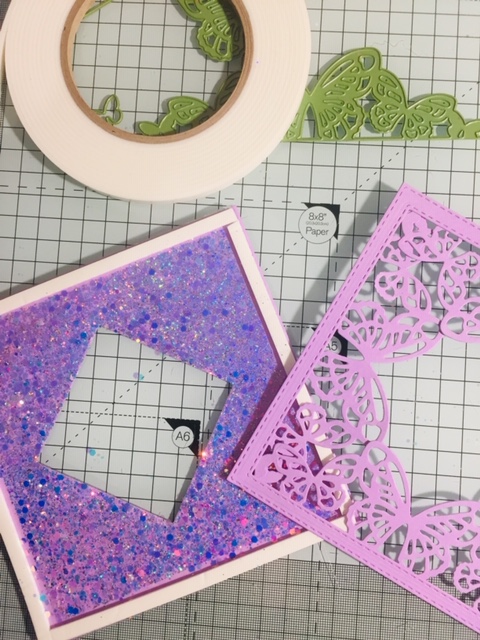
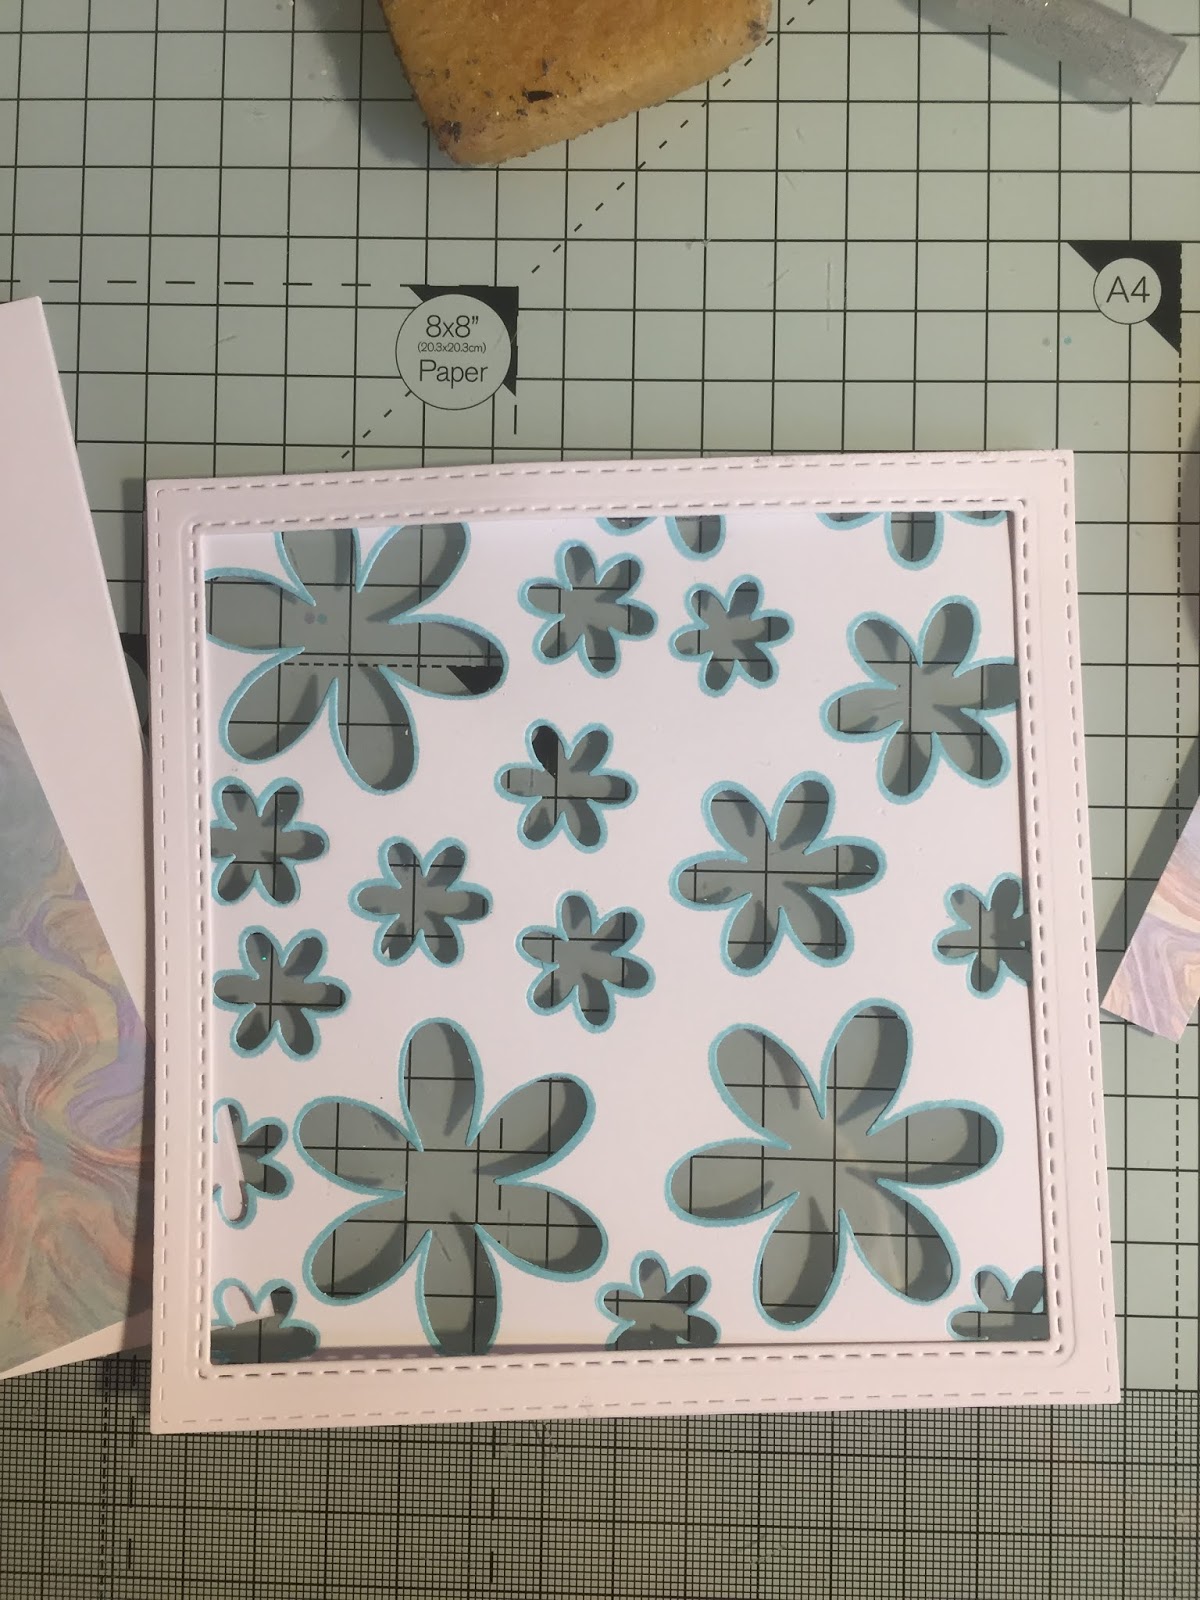
 I cut the stitched square.


 Add the square to the front of the card (don't glue it yet) secure with washi tape and cut a circle in the center of the card as you can see below. 


I cut 4 butterflies and blended inks to them for colour, glued butterflies together by gluing half of the wing at the time and joined with other butterflies. Before gluing last butterfly i added red strong tape to the center of butterfly and added clear thread, then glued the last butterfly.


Here is butterfly with clear thread.


Add strong red tape to the front of the card as you can see below and secure the clear thread with butterfly to the center of circle window. I added more red tape on top of clear thread. 


Glue the square to the front of card.


I cut two circle frames and added them to the front of the card and back of the card to frame the circle.


I added the coloured circle to inside of the card and some tiny coloured butterflies to inside of the card and the front. Stamped the sentiment, cut it and added to the front of the card.


And finished card.


Here are some links where you can see gorgeous projects of team members.
Facebook group Crafting with Lisa Horton

Hope you like this card.
Thank you for stopping by and leaving your comments.
Have a wonderful day and happy crafting.
Hugs Natalia.

18 January 2020

Z fold flourish card...


Hello everyone.

Sharing my first post for Lisa Horton Crafts.
On Monday Lisa will be showing her new products on Create and Craft at 1pm and 6pm.
Here is a tutorial of a simple Z fold card with beautiful daisy flowers and a fab stencil.


For Z fold card

Edgecutz Daisy Burst craft dies,
Be Happy Sentiments DL stamp set,
Nested Banner die set,
Tartan stencil,
Pearls,
Lavender colour ink.
Black ink,
White card,
Perfect pearls.


Use A4 white card. mark at 15 cm on one side and on the other side of the card and cut diagonally.
As you can see on the photos.


Fold the card twice to make a Z fold card as shown below. You can see some measurements on the photos.


Cut slightly smaller panels for the card as shown below in the photo for matting and layering.


I blended lavender ink to the panels using Tartan stencil.


Add more ink around the edges


I added some sparkle to the card by mixing Perfect Pearls with water and added a splatter to the card panels and flowers.
You can use any sparkly paints or powders.


Cut daisy flowers and add some ink to the edges. Add some shape to the flowers by using some embossing tools or sometimes I use a pen to shape the petals.


I coloured medium size flowers with sparkly powder and added lavender ink to little flowers. 


You will need to make nine flowers for this card. Add beautiful purple pearls to the centre of flowers from the pearl set. Add the finished daisies to the top edge of the card.


Stamp a sentiment and die cut the banner using Nested Banner die set, add lavender ink around the edges of banner. Add the sentiment to the front of the card.


 I enjoyed making this card and using tartar stencil. This is my second project using this stencil and it will be also great for masculine cards and projects.
Dont't forget to watch Lisa on Create and craft on Monday 20th January.

You can find some beautiful projects, sneaky peeks and tutorials on the Blog, Facebook and Instagram.
Facebook group Crafting with Lisa Horton

Thank you for stopping by and leaving your comments.
Crafty hugs Natalia.